×
- News
- Sewing Patterns
- ITH Patterns
- Accessory Patterns
- Products
- Free Tutorials
- Help Center
- Gift Cards

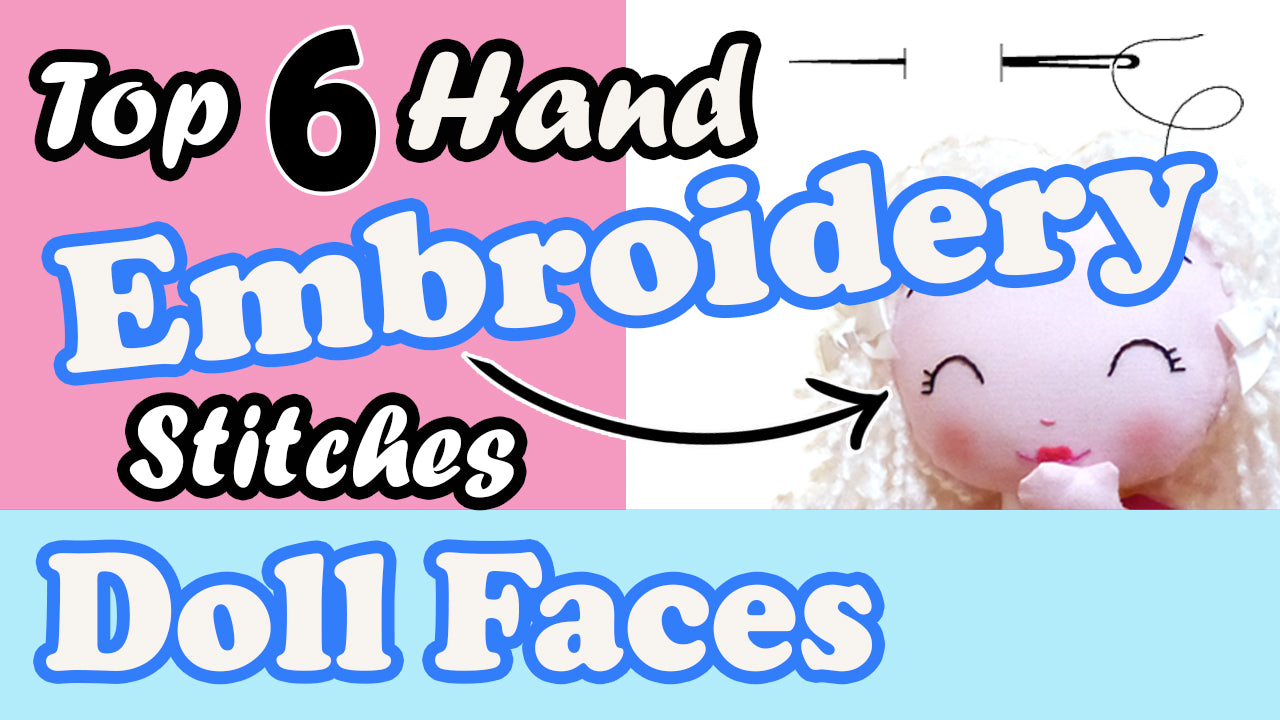
In this tutorial I'll be showing you Step by Step how to Hand Embroider my Top 6 Favorite Embroidery Stitches for Doll and Soft Toy Plushie Faces. These are all very basic, easy stitches so that even a beginner doll or softie maker can embroider lovely faces for their new creations that are not only beautiful but baby safe!
Grab some scrap fabric or a dolls face and let's get started! If you just want a refresher simply click on the time links below to skip to each stitch!
😘👉 Please Subscribe to DollsAndDaydreamsTV & click the 🔔 bell icon to get notified when I upload new videos each week
👉Jump to the Stitch:
✂️ Outline stitches are great for eyes, eyebrows, mouths and whiskers etc
🧵 Backstitch - 1:39
🧵 Outline Stitch - 3:30
🧵 Stem Stitch - 4:54
How to hide your threads - 6:18
✂️ Fill Stitches are brilliant for cheeks, round eyes and lips. An outline stitch isn't necessary - i prefer it as it helps to keep my edges neat.
🧵 Satin Stitch - 6:52
🧵 Padded Satin Stitch - You need to create a Satin Stitch underlay first 6:52 ... and then the second part starts 8:00
✂️ Specialty Stitch which is handy for small eyes and whisker dots
🧵 French Knot - 8:59
👉Tools Used:
🌿 Kona Cotton is best for dolls faces
🌿 A Sharp Needle
🌿 Embroidery Floss - 3 strands
🌿 Embroidery Hoop - but you can also embroider on stuffed faces or just flat fabric
🌿 A quilters disappearing ink pen to transfer your design onto the fabric
🌿 A Dolls And Daydreams Doll Pattern or face pattern
✂️ Doll Sewing Patterns Mentioned/Seen
🥰 Wendy Poppet Sewing Pattern
🥰 Full Hand Embroidery Face Range
🦊 Fox Dress Up Plush Toy Sewing Pattern